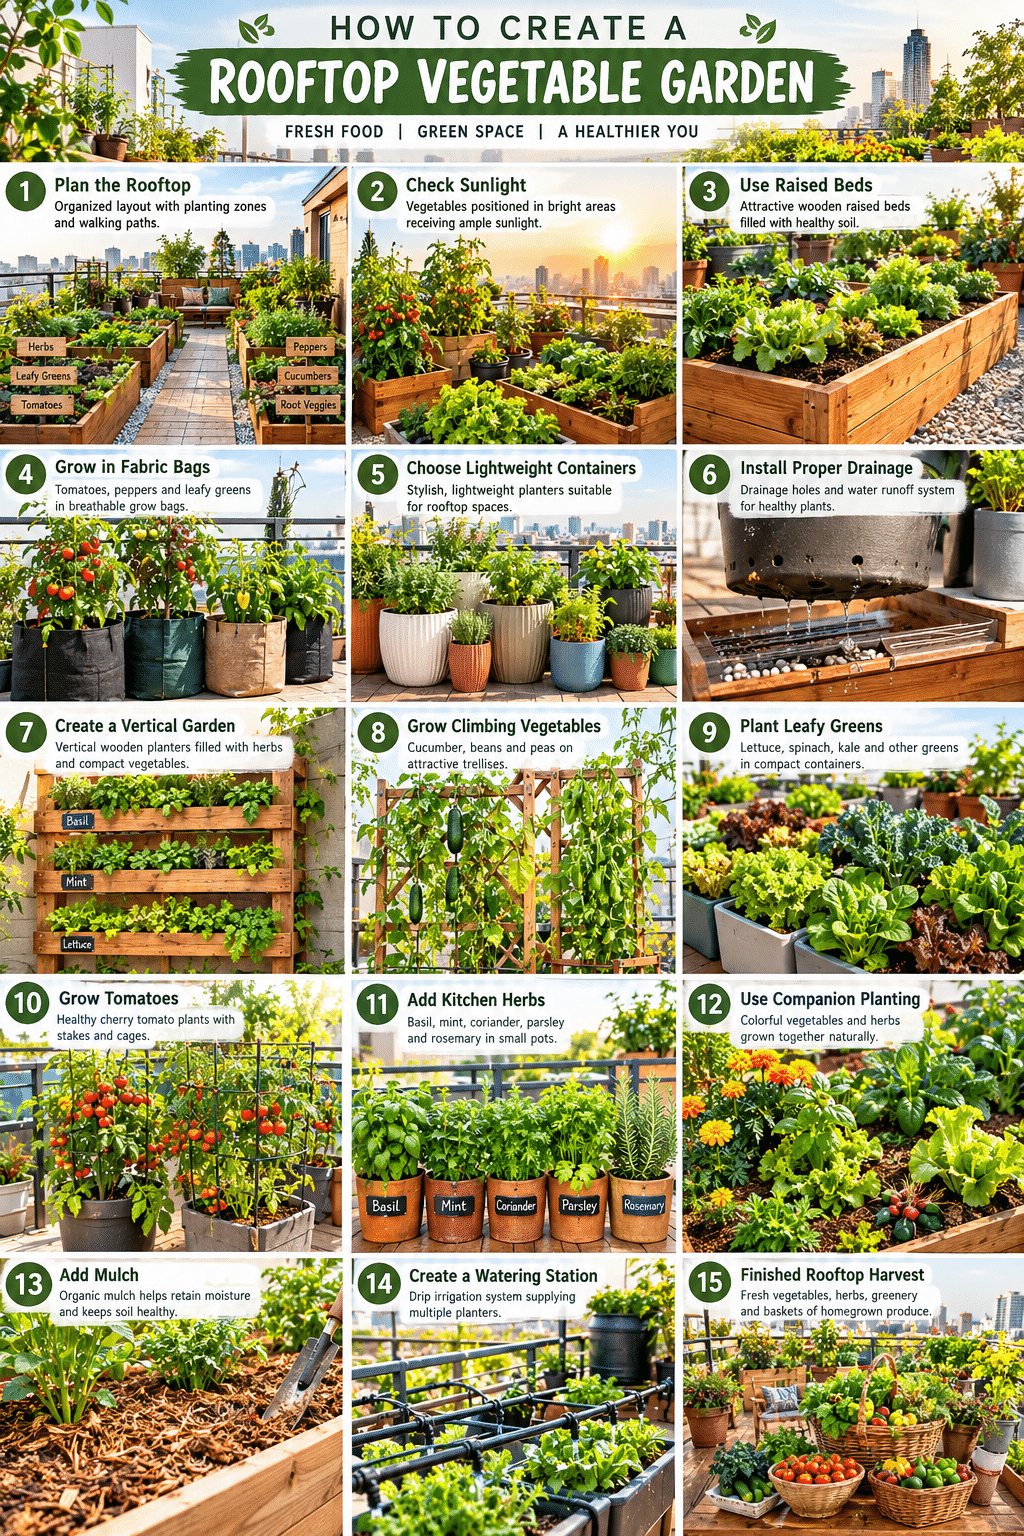
A rooftop vegetable garden turns unused space into a productive, green retreat, giving city dwellers and homeowners alike a place to grow fresh food, cool the building below, and enjoy a little peace above the streets. Rooftops come with their own challenges, though — weight limits, wind, intense sun, and limited water access all need to be planned for before the first seed goes in.
1. Check Structural Safety and Permissions First
Before buying a single planter, confirm that your roof can safely support the added weight of soil, water, containers, and people. Consult a structural engineer or building manager, and check local building codes, HOA rules, or landlord permissions, since rooftop gardens often require approval.

Image Title: “Confirming the Roof Can Handle the Weight”
2. Assess Sunlight, Wind, and Microclimate
Spend a few days observing how sunlight moves across the rooftop, noting sunny and shaded zones, and pay attention to wind patterns, since rooftops are often much windier than ground-level gardens. Most vegetables need at least six hours of direct sun, so map out where your beds will get the most light.

Image Title: “Reading the Light Across an Empty Roof”
3. Choose Lightweight Containers and Raised Beds
Opt for lightweight containers such as fabric grow bags, plastic planters, or lightweight raised beds rather than heavy ceramic or concrete pots. Make sure every container has drainage holes, and consider self-watering options to reduce daily upkeep in hot, windy conditions.
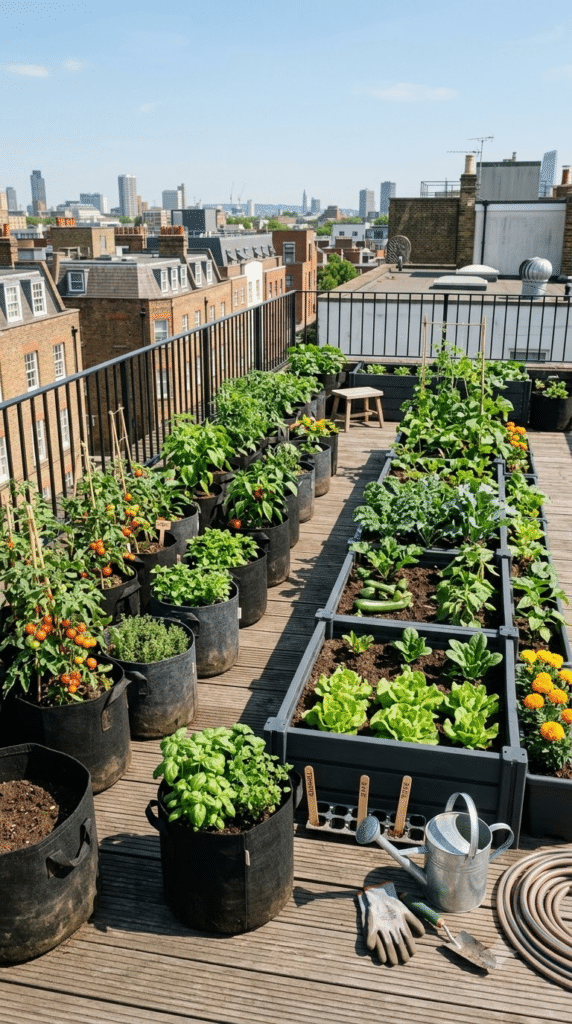
Image Title: “Light Containers for a Load-Bearing Roof”
4. Use Lightweight Potting Mix
Standard garden soil is far too heavy for a rooftop, so use a lightweight, well-draining potting mix blended with perlite, vermiculite, and compost. This reduces weight while still providing the nutrients and moisture retention vegetables need.
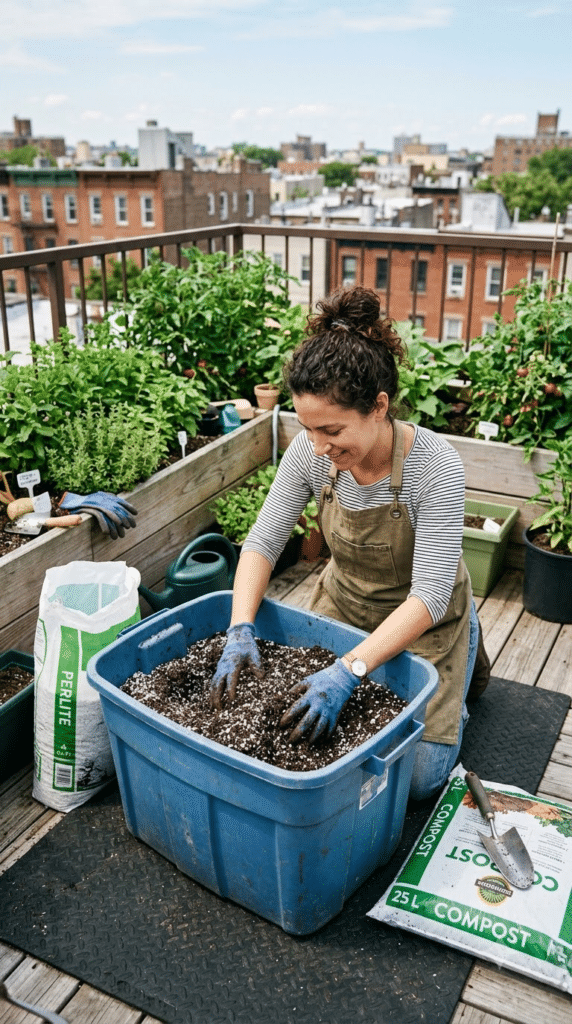
Image Title: “A Featherweight Soil Blend for the Sky”
5. Set Up Windbreaks and Shelter
Protect plants from strong rooftop winds using lattice screens, bamboo fencing, or tall planters filled with sturdy shrubs or ornamental grasses along the edges. A filtered windbreak, which slows wind rather than blocking it completely, tends to work better than a solid wall.
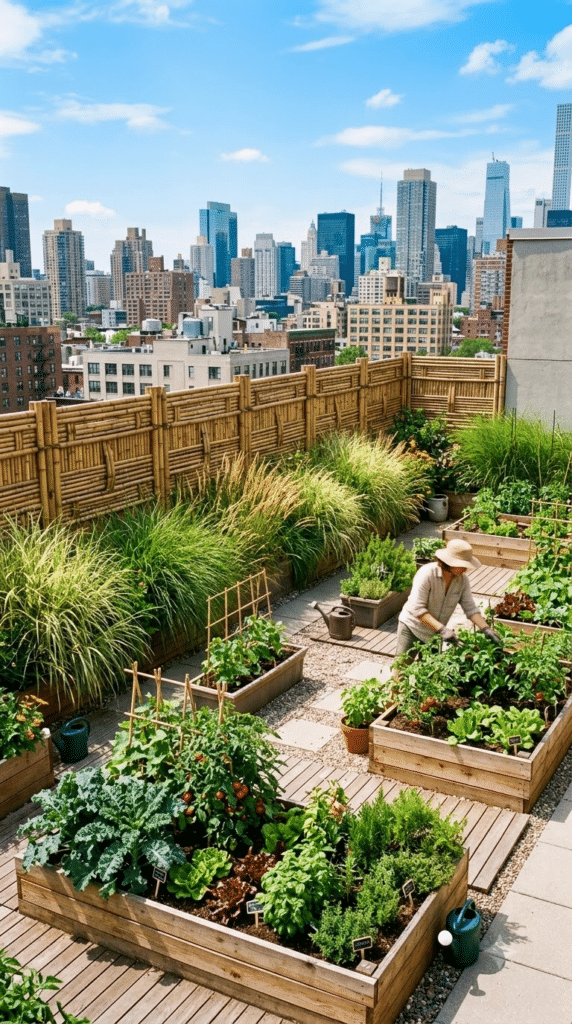
Image Title: “Softening the Wind Before It Reaches the Plants”
6. Plan Your Watering System
Rooftops dry out quickly thanks to wind and sun exposure, so a drip irrigation system or self-watering planters make daily watering far more manageable. Connecting the system to a timer means your vegetables stay consistently hydrated even when you’re away.
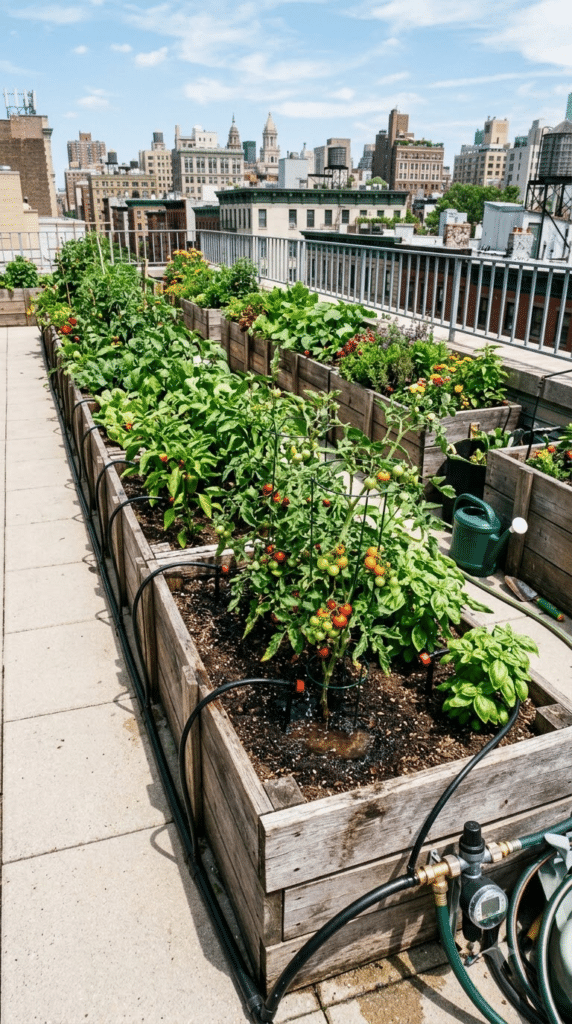
Image Title: “Keeping Roots Hydrated With Drip Lines”
7. Start with Easy, Productive Vegetables
Begin with forgiving, high-yield crops like tomatoes, lettuce, peppers, herbs, and radishes that thrive in containers and handle the sun-and-wind conditions of a rooftop well. Starting small builds confidence and helps you learn how your rooftop’s microclimate behaves.
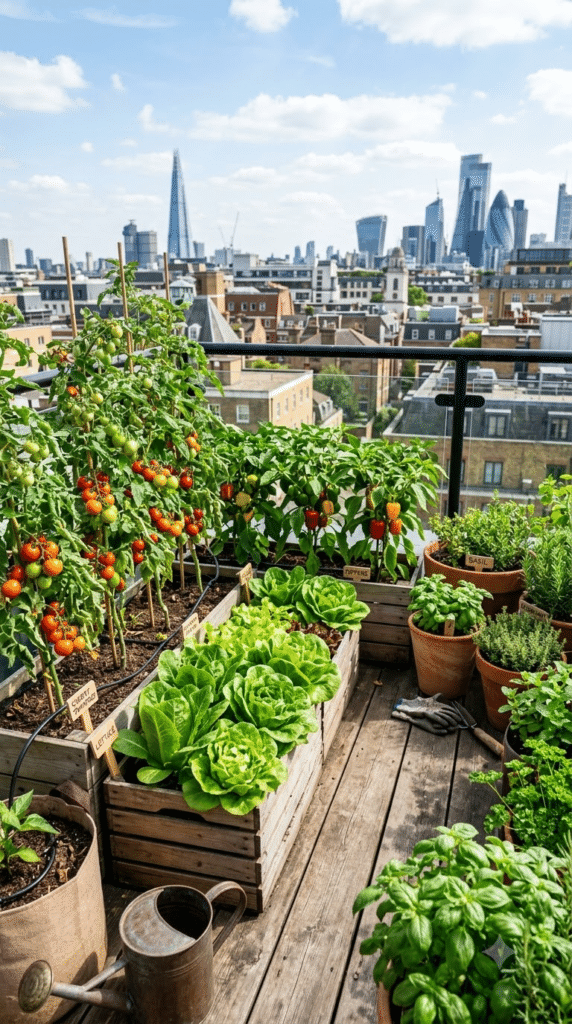
Image Title: “Beginner Crops That Love Rooftop Sun”
8. Group Plants by Water and Sun Needs
Cluster plants with similar water and light requirements together, placing sun-loving tomatoes and peppers in the brightest zones and leafy greens in slightly shadier corners. This simplifies watering and keeps every plant in its preferred conditions.
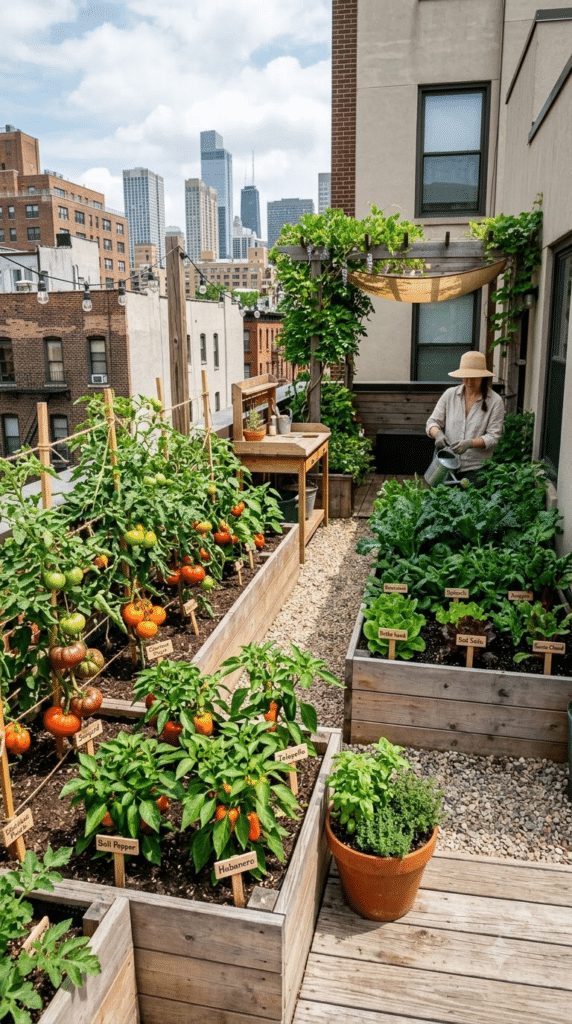
Image Title: “Sun-Lovers and Shade-Seekers, Neatly Sorted”
9. Add Vertical Growing Structures
Trellises, tomato cages, and wall-mounted planters let you grow upward instead of outward, maximizing limited space while also providing extra wind protection. Climbing vegetables like cucumbers, pole beans, and peas thrive on vertical supports.
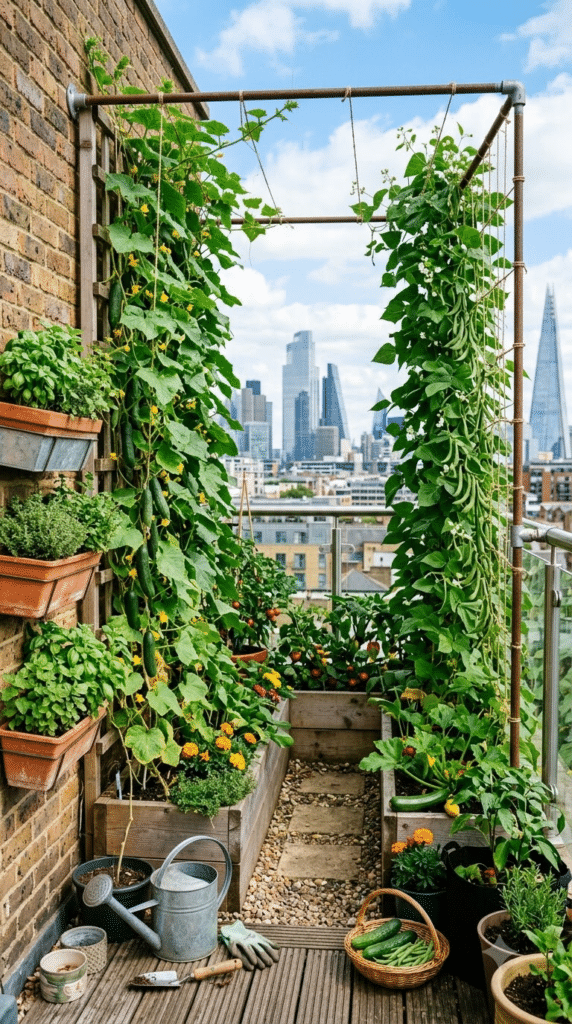
Image Title: “Growing Upward When There’s No Room Outward”
10. Mulch to Retain Moisture
Cover the soil surface in containers and beds with straw, shredded bark, or coconut coir to reduce evaporation, keep roots cooler, and suppress weeds. Mulching is especially valuable on hot, windy rooftops where soil dries out fast.
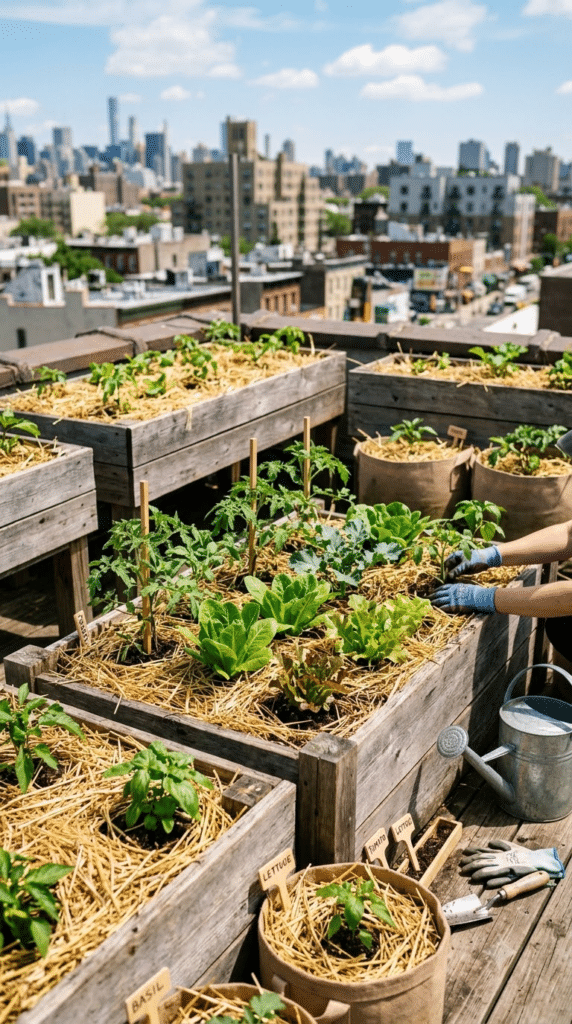
Image Title: “A Blanket That Keeps the Moisture In”
11. Fertilize Regularly
Container-grown vegetables use up nutrients faster than in-ground plants, so feed them regularly with organic fertilizer or compost tea throughout the growing season. Slow-release granular fertilizer mixed into the potting soil provides steady nutrition with less effort.
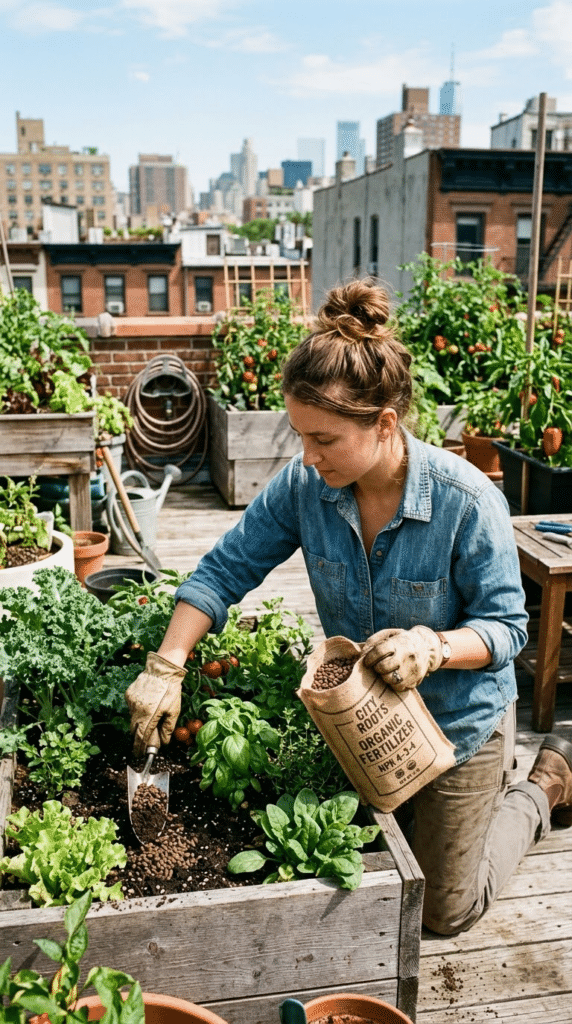
Image Title: “Feeding Hungry Plants in Small Containers”
12. Encourage Pollinators
Plant a few flowers like marigolds, lavender, or zinnias among the vegetables to attract bees and butterflies, which are essential for crops like tomatoes, squash, and cucumbers. Even in the city, pollinators will find a well-planted rooftop garden.
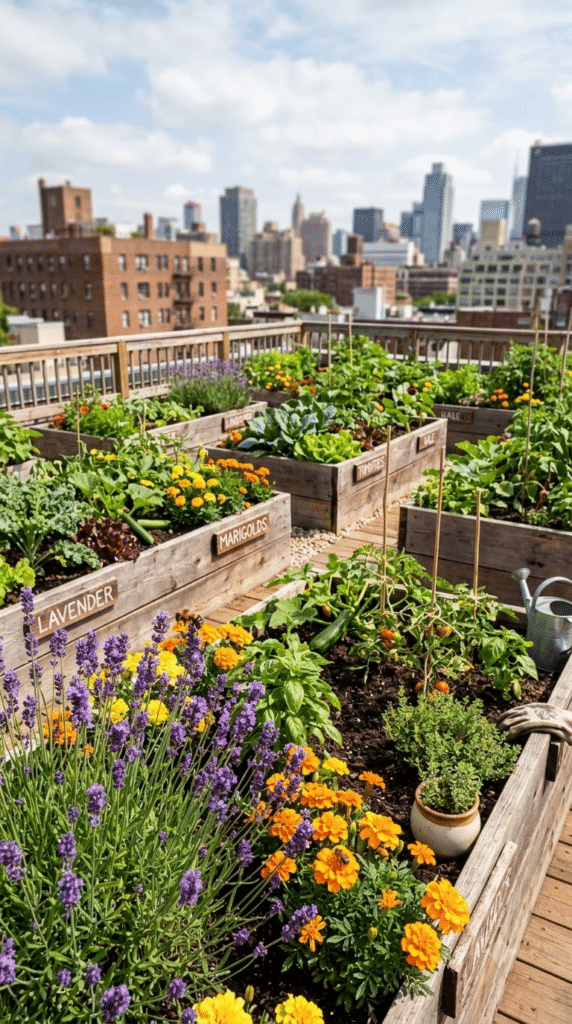
Image Title: “Inviting the Bees to a Garden in the Sky”
13. Monitor for Pests and Problems
Check plants regularly for aphids, whiteflies, and signs of fungal issues, since rooftop gardens can attract pests just like any other garden. Catching problems early lets you use gentle solutions like insecticidal soap or neem oil before an infestation spreads.
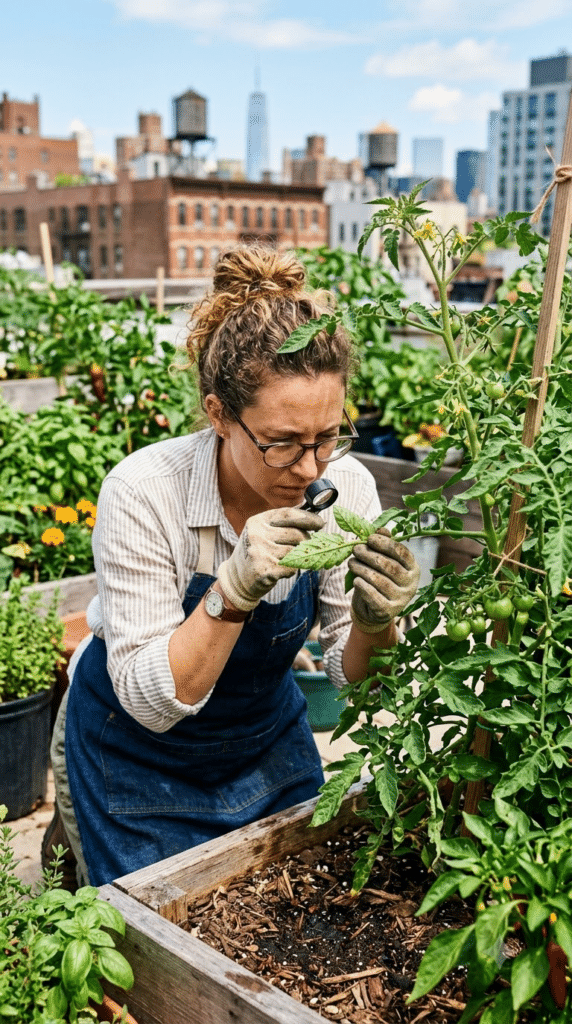
Image Title: “A Weekly Check for Uninvited Guests”
14. Harvest Regularly and Enjoy the Space
Pick vegetables often to encourage continuous production, and take time to enjoy the garden itself — adding a small seating area or string lights turns the rooftop into a relaxing retreat as well as a productive one. A garden you enjoy spending time in is a garden you’ll keep tending.
Image Prompt: “A person harvesting fresh tomatoes in a rooftop vegetable garden with a small seating area and string lights nearby, warm golden hour light, relaxed urban gardening photography.”
Image Title: “Harvesting Dinner With a City View”
Final Thoughts
A rooftop vegetable garden takes a bit more planning than a backyard plot, but the payoff — fresh produce, a cooler building, and a private green escape — is well worth it. Start with a safety check, choose lightweight materials, protect your plants from wind and sun, and begin with a few easy crops. Before long, your rooftop can become one of the most productive and enjoyable spaces in your home.